Superteach's Special Ed Spot: FREEBIE

Showing posts with label FREEBIE. Show all posts

Using Fidget Spaces in the Classroom

Disruptive behaviors are often an issue in the special education classroom. Kids get agitated, they are frustrated or just reach the top of their anger scale? Working with students with these issues is often part of being a Special Education Teacher. What can you do? I thought I'd share a little about how I use fidgets and a special space in the classroom to help these students.
 Do you have a fidget box or Calm down area in your classroom?   Its been a lifesaver for me, my staff and it has also helped the many children that have used it over and over.
Here's how I have used fidgets.

SET THE FIDGET SPACE

This is the first center set up in my classroom each year.  I usually like to give it a name.  Something like  "Space Place" or "Chillville" have been a couple of my favorites.


When selecting the space for CHILLVILLE  I make sure the area is accessible for everyone, yet cordoned off from other parts of the room to make it private yet viewable. I want it to be comfortable and feel good for the kids.

USING THE FIDGET SPACE

I find a fidget space,  a great proactive way to alleviate behaviors before they begin.  So, I use them in several ways.

  1.  I integrate time for the fidget area into the kids' daily schedules. This way they can count on a guaranteed time to go. "If I do my reading then I can go to Chillville."
  2. A few decorations populate the wall including the rules for the area.  Some of the rules include quiet voices, one toy at a time and stay in the fidget area. 
  3.  Some must haves in my fidget space is a beanbag chair and some plastic baskets to hold fidgets, post the fidget space rules. I usually make sure my fidget space rules have pictures cues so everyone understands them.
  4. Sometimes when the behavior escalates overall in the classroom, we call a break and everyone gets some downtime of their own time in Chillville. This often gives enough of a break that when their time is up, they are more ready to get back to work.
  5. When I have students in need of some space to themselves, just some time to chill out or  a break time to gather themselves together, I schedule a Chillville or SpacePlace visit.  The students get 10 minutes to go to Chillville and "play" with the fidgets in the area. 

IDEAS OF WHAT TO PUT IN YOUR  FIDGET SPACE? 


There are so many fidgets but I wanted to share just a few of the ones  that I have used. Some fidgets that can usually be found there are
1. different colors and resistance levels of thera-putty
2. squishy balls,
3. fuzzy, prickly, spiky types of  tactile balls
4. tangle toys
5. Leap Pads with velcro holders for fingers to touch and feel
6. Small stuffed animals
7. Small wind-up toys

Here are a few other examples of things in Fidget Area.


That last little fidget, pictured above, is a Pop Tube or sometimes written Pop Toobe. If you've ever had one of these, you know it isn't necessarily a quiet toy. However, I had a 3rd grader that just LOVED these things. I will try anything at least ONCE for students I teach!  
For this student, the Pop Tube was amazing. He would sit and play the accordion-like pleats, in and out for long periods if you let him. That didn't cause too much noise and was not a disturbance to the rest of my kids and worked wonders for him. However, the PopTube didn't work for another child because he learned how to extend it, swing it around his  head to make it whistle.  We then worked it out so the tube was only available to those that use it quietly.

You can get my labels for Space Place and Chillville Sign FREE in my TpT store.
Check it out!
https://www.teacherspayteachers.com/Product/FIDGET-AREA-Classroom-Labels-2302128

Thanks for stopping by. See you next time!


4

Bloghop Week 4 -5 Important Steps to Successfully Working with Paras


Paraprofessionals- where would we be without them in a special education classroom?
LOST- for sure as they can be our greatest resource for working with the children we do. Like every good relationship, it takes work. It takes training, teaching, love, compromise, feedback and good communication to run a room of students with disabilities and paraprofessionals as your right hand.

When I decided to move into teaching a self-contained Special Ed class, I was initially apprehensive about having to work with other adults in my room all the time. Prior to this I had only shared paraprofessionals when I taught resource classrooms.
 I have always known that my strength lay with working with children. But how would I do  working with adults too? Where do I start?  All I could think about was I can handle kids but how do I manage adults and be their friend and supervisor also?

One of the first places I decided to start  was to start was the same place I start for students.
 I knew I wanted to establish a good relationship with them and a safe and friendly environment for everyone to be in.  I wanted them to feel comfortable in the classroom. I wanted them to have a stake in how are kids performed. Here are some ideas in how I approach working with paraprofessionals.

Establish a relationship. Get to know the person.
I was very lucky in all the years I've worked in special education to have the advantage of knowing the person before I had to work with them in most cases but whether I knew the person or whether I was meeting them for the first time one of the first things I wanted to do was to get to know them better.
Share your story. What goals do you have for the classroom and the kids? Sometimes I did this in a casual way with just chatting with them in getting to know them other times I did this in a more formal way with a kind of get to
                                    know you form.
a.  Shoulder to shoulder, knee to knee chat ..well maybe not quite that close.
 Sometimes impromptu chats ended up being interrupted. I found it worked best if we set aside a time to chat and I shared that the goal of our chat would be for us to share with each other about our strengths and weaknesses and goals. Even for these chat, I would usually outline points I wanted to cover to make sure I asked about all the information I wanted.
 b.  Get Acquainted Form. Using a Get-to-know-your-form gave time to sit down at their convenience and reflect and give thoughtful answers. This usually gave me the most useful information and the information that they put on it could give me information about how they saw themselves what they felt their strengths and weaknesses were.  I also share an expectations list of things that are expected in their job, not only by me but in our Special Education department and school. If you would like a copy of the form and the expectations I used,you can get yours HERE.
Start with their strengths.  Everybody has strengths and weaknesses and paras are no different of course. When assigning tasks,  I selected an activity or task I knew would be an area of strength for them. Perhaps it would be something they shared with me they liked to do. The next thing I do is to look at where they think they are weak whether that is in things such as discipline, recording data,  in managing children with severe behavior issues, or changing diapers/pull ups. This might be something I observed or something they had shared with me was weakness.

Begin training immediately. 
One of the first areas I always share with paras, to begin training is the importance of confidentiality. Who we share information with and who we do NOT. The other important area to get to immediately is how to take data. Utilize all your resources at hand whether that is webinars videos one the one teaching training or even on the job training use your resources to give the information you need them to have.


Share Share Share
No, I don't mean share your toys like we tell students. Well...yes I do. Share your knowledge. Talk out loud. That may sound so funny to say, but how many teachers do so much  of their work mentally? I know that is the way I functioned at one time after spending some time teaching general education and having no paraprofessionals. I processed so much internally that I found I wasn't sharing with my paraprofessional partners enough.
Share your kids IEPs with the paras. Explain the goals and objectives. Share  the prompting levels, behavior plans, tokens systems because they are an integral part of your success and the success of your students.

Assess, reteach, adjust and GIVE FEEDBACK!
Give positive and constructive feedback. Set a time aside to give feedback and guidance to the paraprofessionals. We all like to hear whats going well. Share the good things you see. Share and reteach what isn't going as well. Adjust assigned tasks, students and classroom zones when needed.


Above all BE FLEXIBLE! But then with all we do in working with children with special needs - isn't that the name of that the name of the game?

Thanks for stopping by and keep on clicking through the Bloghop by clicking on the link below


7

2 for Tuesday

Its another terrific Tuesday and time for  2 For Tuesday and 2 more fantastic products discounted just for you.
As much as I hate to say it..but in awhile school will be starting again. Have YOU been working on school items? I have been thinking about things that will be needed to get started for a new year.
When teaching students in special education one of the things you especially want to make sure you have is items ready for helping
with teaching the kids the routines you expect them to perform.
For instance, teaching morning routines of what you expect when they arrive at school or get into the classroom. With kids with disabilities, it isn't just a matter of telling them what you want them to do.
Sometimes the students will learn better if you use visuals with pictures to show them what you want them to do.
A couple of ideas I have used and found particularly useful is a picture schedule or picture word schedule depending on if your student can read or not. Sometimes pictures are more understandable by some children.  An example might be like the ones to the left. You'll notice that I have included pictures and words for very minute steps in arriving in class I want this child to complete. These visuals include zipping and unzipping the backpack and going to their desk.
I cut these pieces apart and put them on a schedule board in the order I want them completed.


Another time of the day I frequently use visuals at the very beginning of the school year is for teaching what behaviors are appropriate when arriving at school in the morning. What should the student do when they get off the bus or out of the car?
When students don't know what they are supposed to do, it can add stress and anxiety to the child's day and can increase inappropriate behaviors in some instances.
To the left, you will see an example of visuals for arriving at school telling the child some steps such as walking when the exit a bus or car and that they should wait quietly and listen to the teacher.

Teaching, reinforcing, reteaching and reinforcing is of course needed to make the visuals work but these are awesome tools for teaching beginning of the school tasks.

Today for 2 for Tuesday's please visit my store for 2 great items for you.


Chalk One Up for the TeacherThanks for checking in! Be sure to stop by check in at Chalk One Up for the Teacher to catch other great 2 for Tuesday offers.


2

Blog Hop #3 Back to School Forms

Hi everybody and welcome back to the summer blog hop!
Hope your summers are going well!
What fun has everybody been having?
Some of the initial forms I use are those that I shared in Week 1 of our Bloghop such as class scheduling and staffing schedules, so be sure to go back if you missed them.

 After I have scheduled the day and where I want all the kids and paraprofessional(s) to be (see week one of this hop), its time to turn my attention to other Back To School forms I may need.
IEP TRACKING FORMS
One of the most important forms I  need each year is something to track goal/objective progress for the students. This one below if a quick and easy one with date and goals/objectives listed on the left hand side. I type the goals in bold font and the objective in regular font to differentiate between them quickly. The other side of the form has number correct/incorrect on work they have completed for that goal/objectives and a last column for comments written by the adult that worked with them on the skill.

I like to have several copies of these forms for each student and while it may not seem to be the most efficient, I provide copies to my paras as well as myself. This makes multiple copies but I do it because I have each adult meet with every student in some way every day and I want the data sheets to be totally accessible to them at the moment. This way everyone can record data as soon as it occurs. I tend to work this way just because of the makeup of my class each year. Some years I can place one set of forms in a central location and everyone can record on one form. 
SCHOOL/HOME COMMUNICATION FORMS
One of the most important forms I find during the year is the homeschool communication form. One of the most important forms for back to school I use is a Home/School Communication. This is a form I develop based on the needs of the students and parents each year to maintain daily communication of what their child is doing in the class. I frequently had at least one student in my class each year that was non-verbal and several others that while they could talk, had a difficult time sharing information with their parents about what went on at school. A form like the one above is an example of one I have used. It includes specifically selected portions of the students school day with checkoff items about that section in the box. For example, in the box for Communication, it might say "I used my Words today", "I used Picture symbols" or "I used Gestures". These are just the items I needed for the student I last used these with. 


I thought I would share several of the forms I have used with you. Depending on the makeup of my class, I occasionally use the same form for the entire class, but more often I make forms that fit each child and use those. Sometimes the forms for Home/School Communication are based on classroom activities such as this one below.

This form is set up for 2 weeks and is based on the theme for the classroom of YOU ARE A STAR! that I used that particular year. It is designed to be a quick number assessment system of reporting behavior to the parents on a daily basis. The behaviors on this form corresponded to our class rules and the form left room for both teacher and parent to write short notes if needed. 

These are the most important types of forms each year for me. Don't forget to hop through all of our blogs this week for great ideas for BTS forms.
 KinderSPED Adventures


2

Teacher Appreciation Sale


 Superteach56 Store
Its Teacher Appreciation Week and Sellers at Teachers Pay Teachers appreciate YOU! In appreciation of all you do for kids and education, we're holding a sitewide sale May 5-6! 
As my way of appreciating YOU - my fellow teachers this week, ALL of my products will be 20%. 
Go shopping till your hearts content and when you check out...be sure to use the Coupon Code THANKYOU and you will get up to 28% off your purchase. 

0

Fabulous February Bloghop and Alphabet Practice Cards

This year I have several students that have just can't grasp the alphabet.  They try their best and work their hardest.
All year I have struggled to keep them interested in the materials and have continually made different types of materials for them to use and practice on.
Each child learns a different way as we all know. Some learn visually others auditorily and then others need that kinethetic modality to learn materials best.

So when I am teaching those topics that just can't seem to be mastered, I turn my attention to how I can modify the materials to make them just a little bit different and perhaps help even one more student learn that crucial skill.

QUICK TIPS

I think one of the best things I have learned in teaching is to take a step back and look at what you can change. What can I do differently that may give that student the "leg up" to learning this skill. Be flexible and willing to change how you present things. In special education you may end up presenting the same concept to the same child over several years and having a multitude of ways for them to practice it will be a lifesaver.

Please click below and enjoy a trip to my TPT store where you can pick up today's FREEBIE for alphabet practice and matching upper and lowercase letters. This FREEBIE includes the entire alphabet and also has black/white worksheets plus color  sheets that can be cut apart to make activity cards. I hope you enjoy. Please leave feedback and check out the rest of the store.


3

WE ARE THANKFUL BLOGHOP

Reteach, reteach reteach

Lately I found that several of my kiddos have taken a back slide on alphabet letter recognition. This was  material we learned last year and reviewed at the beginning of this year, but as I am sure you have experienced, for one reason or another, we often find ourselves needing to reteach concepts.
Recently, I found myself in this position but felt I had exhausted my alphabet materials and needed something new to present these two precious girls with to help them regain this skill.
ALPHA CUPS provides the kids with extra ways to practice letter recognition.
Alpha cups originally began by mounting a capital letter on one cup and its matching lower case on another. Kids then match the letters and name them by stacking the like letters together, as seen below.
 These alpha cups are also good for working on sequencing of letters in the alphabet and can be grouped easily into whatever groups your students need extra help with. The pages can even be cut apart and placed on a file folder. Then students can match the letters and name them or even give the sound associated with the letter by matching them to the cards in the file folder.

 TIP: One of the greatest things that has helped me in my years of teaching is organization. Figure out your organization method from the start and stick to it. Perhaps you think best if things are organized by color; then organize your materials by color: Reading activities could be blue, math red and writing green. This makes materials easy to find in storage closets, makes them easy to use in the classroom and helps the students know which activities go with which subject.


To get this BLOGHOP FREEBIE, please click the image below.

ALPHA CUP FREEBIES


Thanks for checking in.  For more freebies and tips, continue the trip through the blog hop by checking out You Aut-a Know...just click the button below.
 You AUT-a Know!

5

WE LOVE SPECIAL EDUCATIORS!

I have teamed up with a great group of special educators!
Did we mention how much we love special educators??! 
Well just to show you how much, 24 of us have joined together to help you start your new year out with a BOOM! 
We are beyond excited and even more excited for you! Ok, maybe even just a wee bit jealous! :)
These 24 awesome special educators, including me, have put together 5 fabulous giveaways and a freebie hop with over 20 freebies just for you!! 
Shall we get this party going!!? 
Are you ready?
The first 3 giveaways are split into 3 categories; early childhood, primary, and intermediate! So be sure to enter the one for your grade level! You can click on any of the pictures to view the product in their store or to wishlist it in case you don't win!!{wink}
Here's a look at everything one teacher will win in the Early Childhood Pack!
WOW!
Here's a look at everything one teacher will win in the Primary Pack!
Seriously!!!!?? Are you feeling the Love?!
Here's a look at everything one teacher will win in the Intermediate Pack! As you know, it can be a challenge finding resources on TpT for this level, but we did manage to put a few things together that we think you'll love!
a Rafflecopter giveaway But wait! There's MORE! David at "Attainment Company" was generous enough to give two lucky teachers a copy of this e-Book for their iPad. (This e-Book is compatible ONLY for iPad, so if you do not have an iPad do not enter!)
a Rafflecopter giveaway How many of you have seen this book, or are even using it in your classroom to assess and determine presents levels?? Brigance CIBS
Last year a new and improved updated version was released...... Brigance CIBS II
and we're super excited that Robin at "Curriculum Associates" has generously donated it for us to give to one of you!! Folks, this is a $339.00 value!! Now this one definitely makes us just a wee bit jealous!  (Our apologies, but this one is for U.S. residents only) a Rafflecopter giveaway And now it's time for a............... FREEBIE HOP!

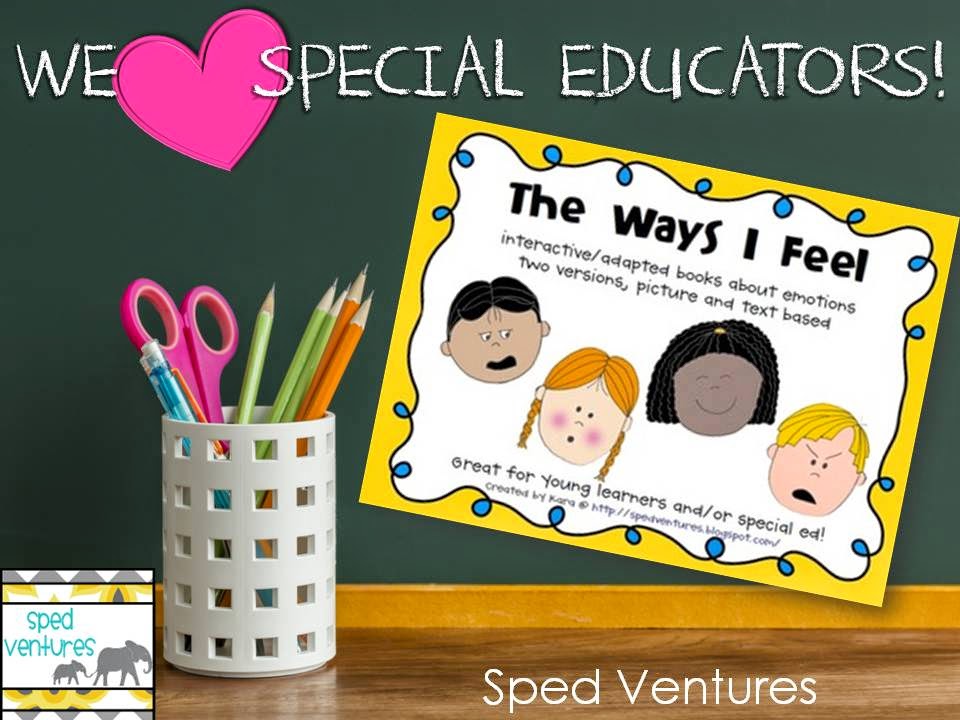
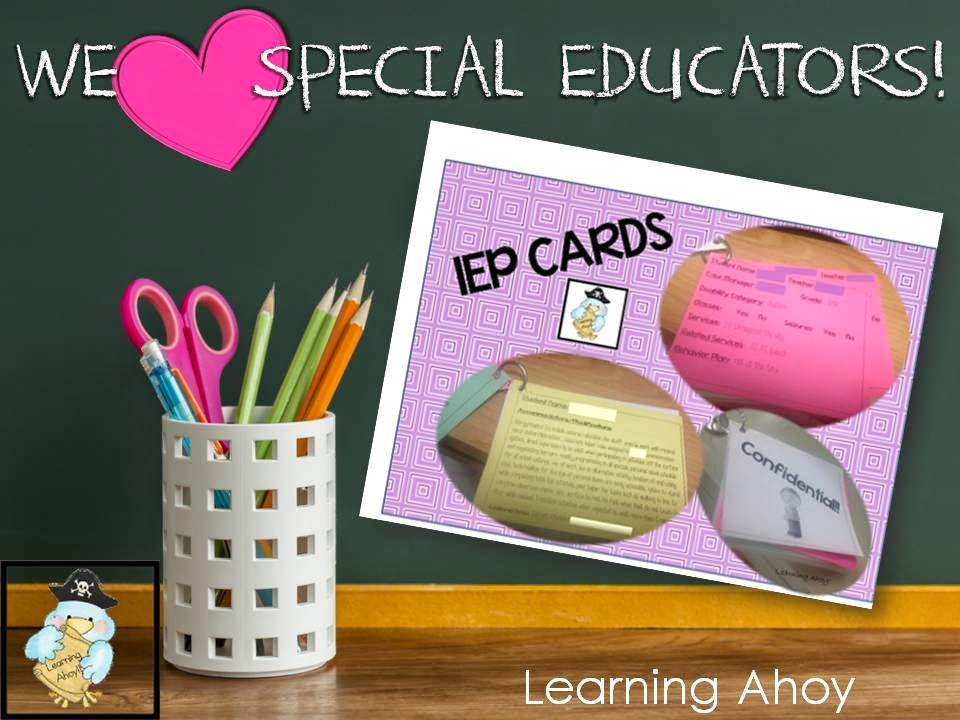
Unpack Pack-up Visual Cards
FREEBIE
Superteach's Special Ed Spot
Unpack/Pack up Visuals
2