

Let's step back in time a bit today and revisit this older post about starting structured work systems.
One of the best things I ever did in my classroom was incorporate structured work systems. At the time, it felt like structured work systems had rescued me.
When I transitioned from teaching students in the resource setting to teaching students with significant disabilities, my kids were doing great and making progress. My room ran smoothly, it was organized, I had a curriculum in place and plenty of materials, but I still found that I was needing something more for my students. I found that "something" in Structured Work Systems. Today I thought I would share how I began using Structured Work Systems in my classroom.
STEP 1 Who You Are Designing For?
 |
| Structured Work Systems |
Here are some things I considered.
Can the student(s) read?
This, of course, makes a difference in what the tasks are and how they are presented. The students I started working with were all non-readers, so I looked at whether they could match, which they all could. Later, I implemented Structured Work Systems with my couple of kids that were readers. The difference? My Work Systems were more text-oriented with written directions for the readers and more picture-oriented, symbol matching for the non-readers.
What skills does the student have?
With my non-readers, they could match, but their approach to the task was not organized, and most of them do not have the ability to focus very long, preventing them from completing the task efficiently.
The first thing I did was use skills the student already knew. For some of them that was recognizing their name, or recognizing common shapes and objects. For some students, they were able to recognize concrete real objects but not items on paper. I knew I needed to start where the student was.
The students I chose to start with were students that could not read, had difficulty finishing work, following directions, matching, and sequencing. I started them off on some very basic systems.
For my first 3 boxes, I chose
matching common classroom objects
matching common shapes
matching letters
Consider whether the individuals you're designing for, are mobile. Can they move to the work system? Do you need it to be portable for classroom size issues? I did.
Do you need the system to be portable to the student?
These are all some of the things you should consider when setting up Structured Work Systems in your class.
Step 2: Create the work system
Once you have decided on setting up the system, you must create it. When creating it you must also consider how you are going to organize it and store it.
A few ideas:
Plastic storage bins
Plastic Envelopes
Folders
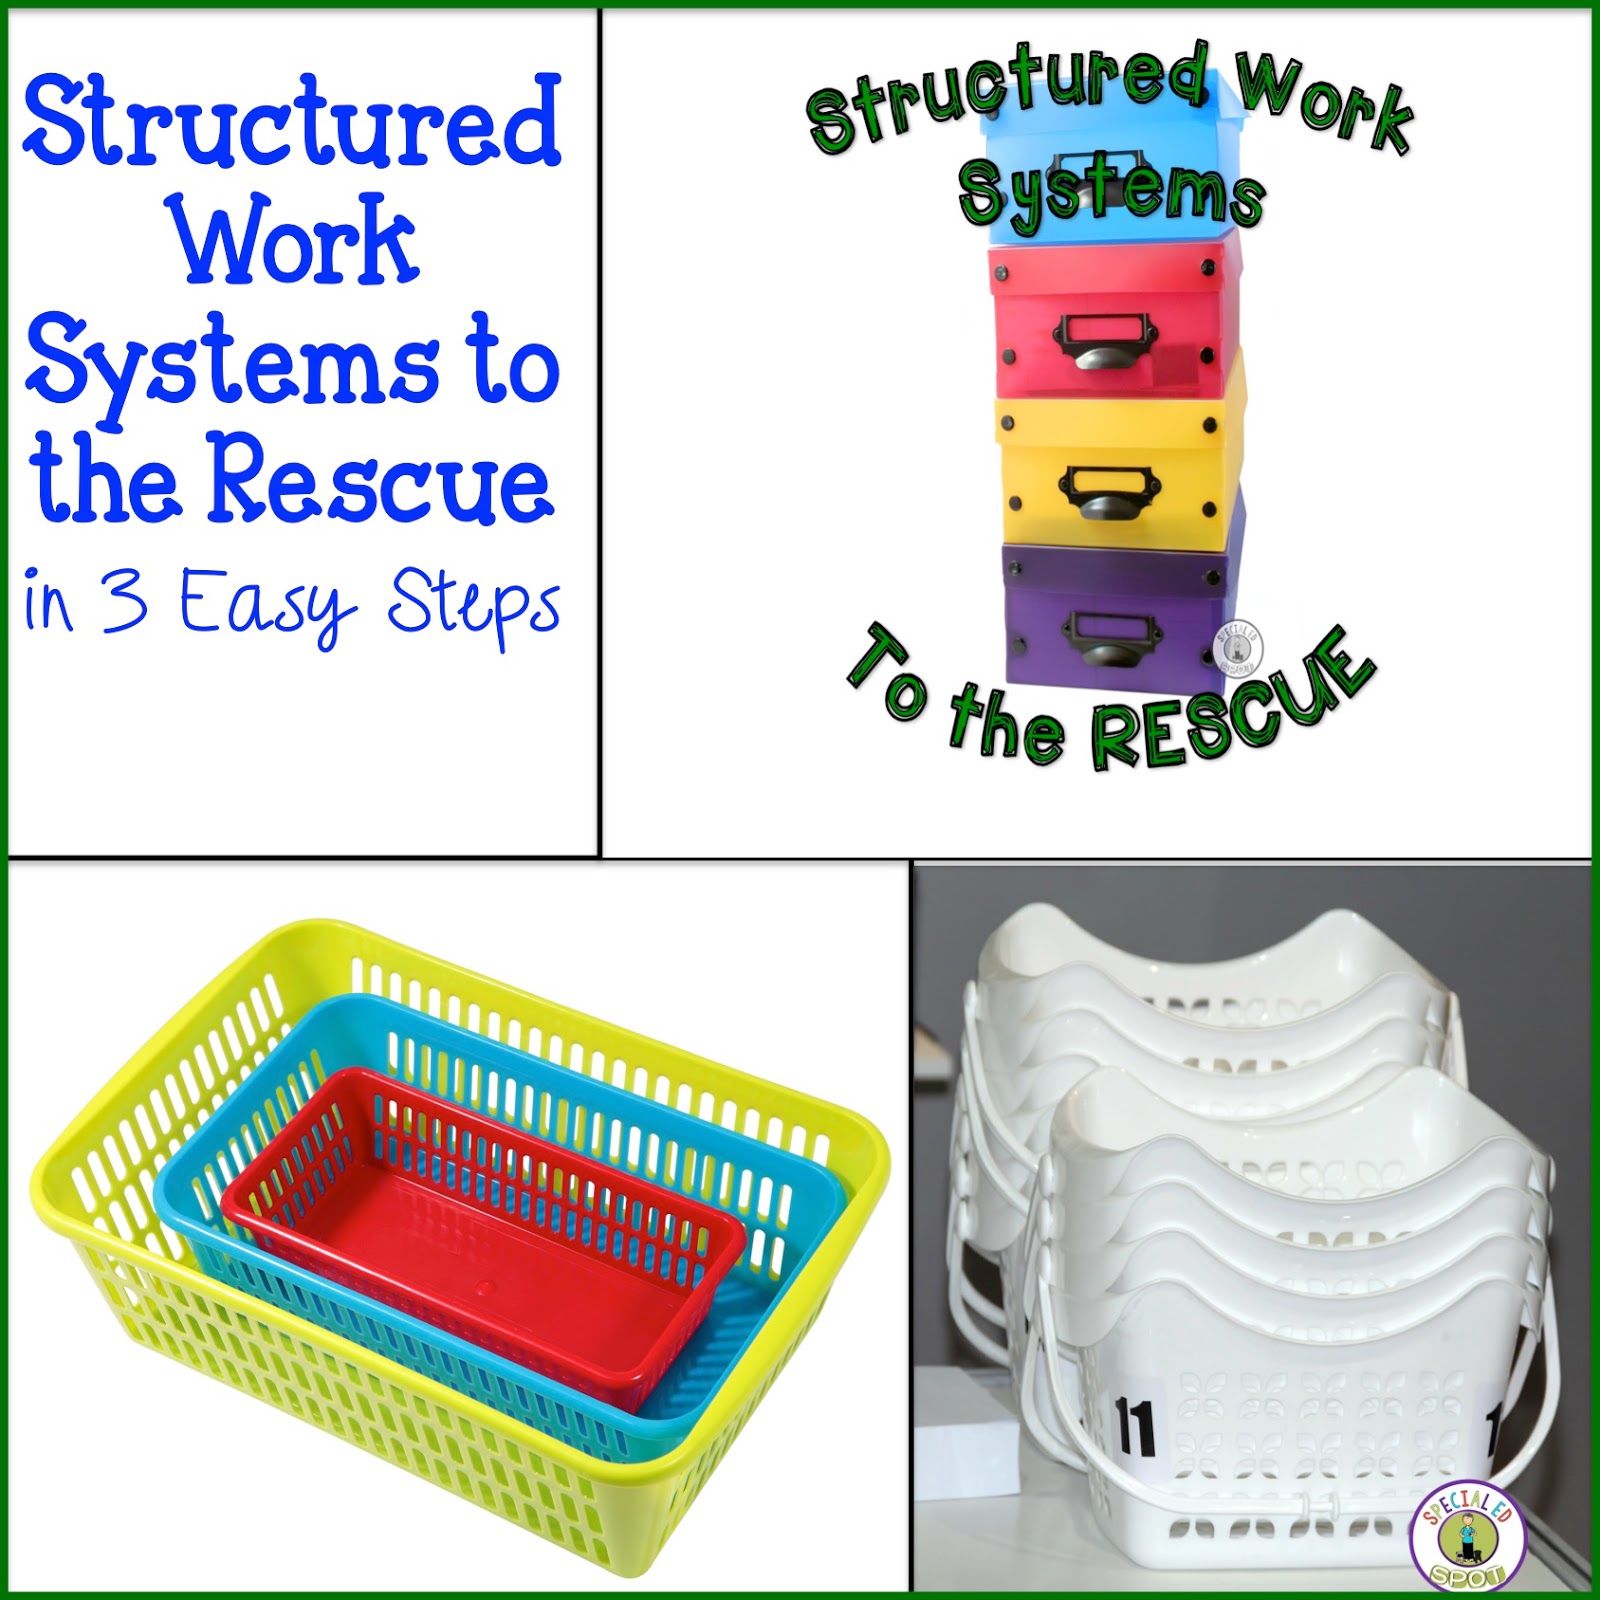
I chose to store my task boxes in plastic shoebox size bins. I got a super deal on them at Wal-Mart. You could also try dollar stores. I liked that they are easy to carry around the classroom because my system needed to be portable. The boxes snapped closed but were easy for little fingers to open independently. The sides of the boxes allowed a great place to put the labeling system I used.
You have several choices in creating the work system. You can make them yourself, purchase commercial systems and even collect objects from your classroom to create them. It all depends on the needs of your class. For me in order to meet all the needs of my students, it was all three. I made some, purchased some, and collected items in order to create them.
Here is a great resource from Dr. Christine Reeve owner and creator at Autism Classroom Resources. You really need to check her site out if you haven't already. I am biased of course, as she is my sister, but she has some awesome resources and ideas in regards to Structured Work Systems and was a godsend to me when setting mine up.
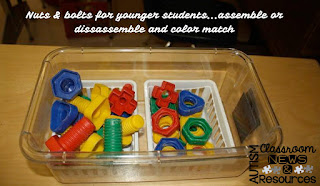
ASSEMBLY TASKS- AUTISM CLASSROOM RESOURCES
Above is a picture of one of her earlier posts on her blog about work systems. This happens to be one of the first ones I set up in my classroom. The kids had to assemble the bolts and nuts. For some kiddos that was enough and others worked on assembling the nuts and bolts and color matching.
Another phenomenal resource is this book Christine has co-written with Dr. Susan Kabot has great ideas and specific examples of how to do it.

Step 3: Teach, Observe and Adapt
Now you have the system created, organized, and ready to go.Set some time aside (yes, I know. Not easy!) Take some time and teach the boxes or containers you chose to use. Teach how you want them used.
Start small and start easy. Teach 1 box and teach every step until the student(s) knows exactly what to do.
Remember...you don't want a student working on a skill they are unfamiliar with. All the skills a child works on with Structured Work Systems should be reinforced, review skills. This way they can concentrate on completing the work system correctly.
You can teach the Work Systems through modeling which is one I used. I showed them how to do it, I had a peer model it and other staff members model it. Once the student can perform the steps themselves from start to finish, then shift your thinking to what the next task can be that you introduce. Again, use what they are able to do and let that lead you to what the next task will be.
When the student can perform 1 task box then introduce the 2nd box.
I built up to 5 boxes my students completed in the time period assigned. Now I needed a way to tell my students which boxes to do, in which order. ...
Stayed for more about ways to schedule independent work systems.


No comments